Ensuring the safety of your electrical systems is crucial, and a circuit breaker lockout device is a key component in achieving this. These devices prevent accidental or unauthorized activation of circuit breakers during maintenance or repair work. Here’s a step-by-step guide to help you install a circuit breaker lockout device effectively and securely.
1. Gather Your Tools and Materials 🛠️
Before you begin, make sure you have all the necessary tools and materials. You’ll need a circuit breaker lockout device, a lock (often included with the device), and potentially a screwdriver or other small hand tools depending on the design of your device.
2. Identify the Circuit Breaker to Lock Out 🔍
First, determine which circuit breaker you need to lock out. This could be a specific breaker that controls a circuit you’re working on or one that needs to be deactivated for safety reasons. Ensure the power is turned off to the circuit you plan to work on by verifying with a voltage tester.
3. Prepare the Circuit Breaker 🔧
Before attaching the lockout device, check the circuit breaker’s current position. It should be in the OFF position. If the breaker is on, switch it off. Ensure there are no obstructions or damage to the breaker or panel that could hinder the installation.
4. Attach the Lockout Device 📎
Place the circuit breaker lockout device over the breaker’s handle. The device should fit snugly around the handle to prevent it from being turned back on. Depending on the type of device, it may involve sliding it into place or securing it with clips or screws. Follow the manufacturer’s instructions for specific installation steps.
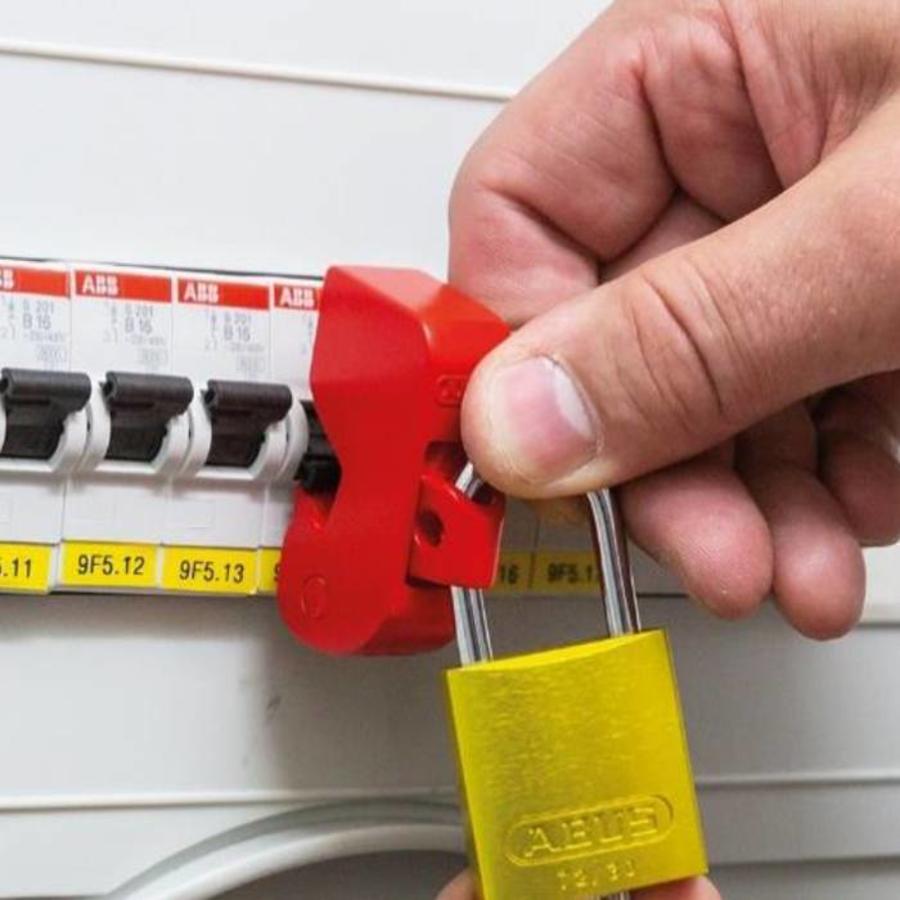
5. Secure the Device with a Lock 🔐
Once the lockout device is in place, insert the lock through the designated hole or slot on the device. This ensures that the device cannot be removed or the breaker cannot be turned on without removing the lock. Use a lock that is suitable for the device; some models come with their own padlocks, while others may require a specific type.
6. Test the Installation ✅
After securing the device with the lock, double-check to make sure it is firmly in place and cannot be easily removed. Attempt to turn the circuit breaker on to ensure the device prevents it from being switched back on.
7. Document the Lockout 🔖
Finally, record the details of the lockout, including the location, the date, and the person responsible. This documentation helps in maintaining safety protocols and ensures that everyone is aware of the lockout status.
By following these steps, you can ensure that your circuit breaker lockout device is installed correctly, enhancing safety during electrical maintenance. Regularly inspect and maintain your lockout devices to keep them in good working condition and to comply with safety regulations.