Have you bought a Cricut Maker 3? Then, you need to install it on your device. I’m a craft expert, and in this guide, I’ll share with you ‘how to install Cricut Maker 3‘ on your operating system.
Do you know what makes this cutting machine a must-buy? Its high-end features and convenience make it a powerful tool that can cut leather, wood, heavy metals, and more. Overall, it can cut more than 300+ various materials.
As an expert, I have been using this machine for 4 years, and now I’m guiding beginners in installing their crafting machine. Now, let’s dive into the steps for installing your ultimate DIY machine to start your creative journey.
A Little Introduction About Cricut Maker 3
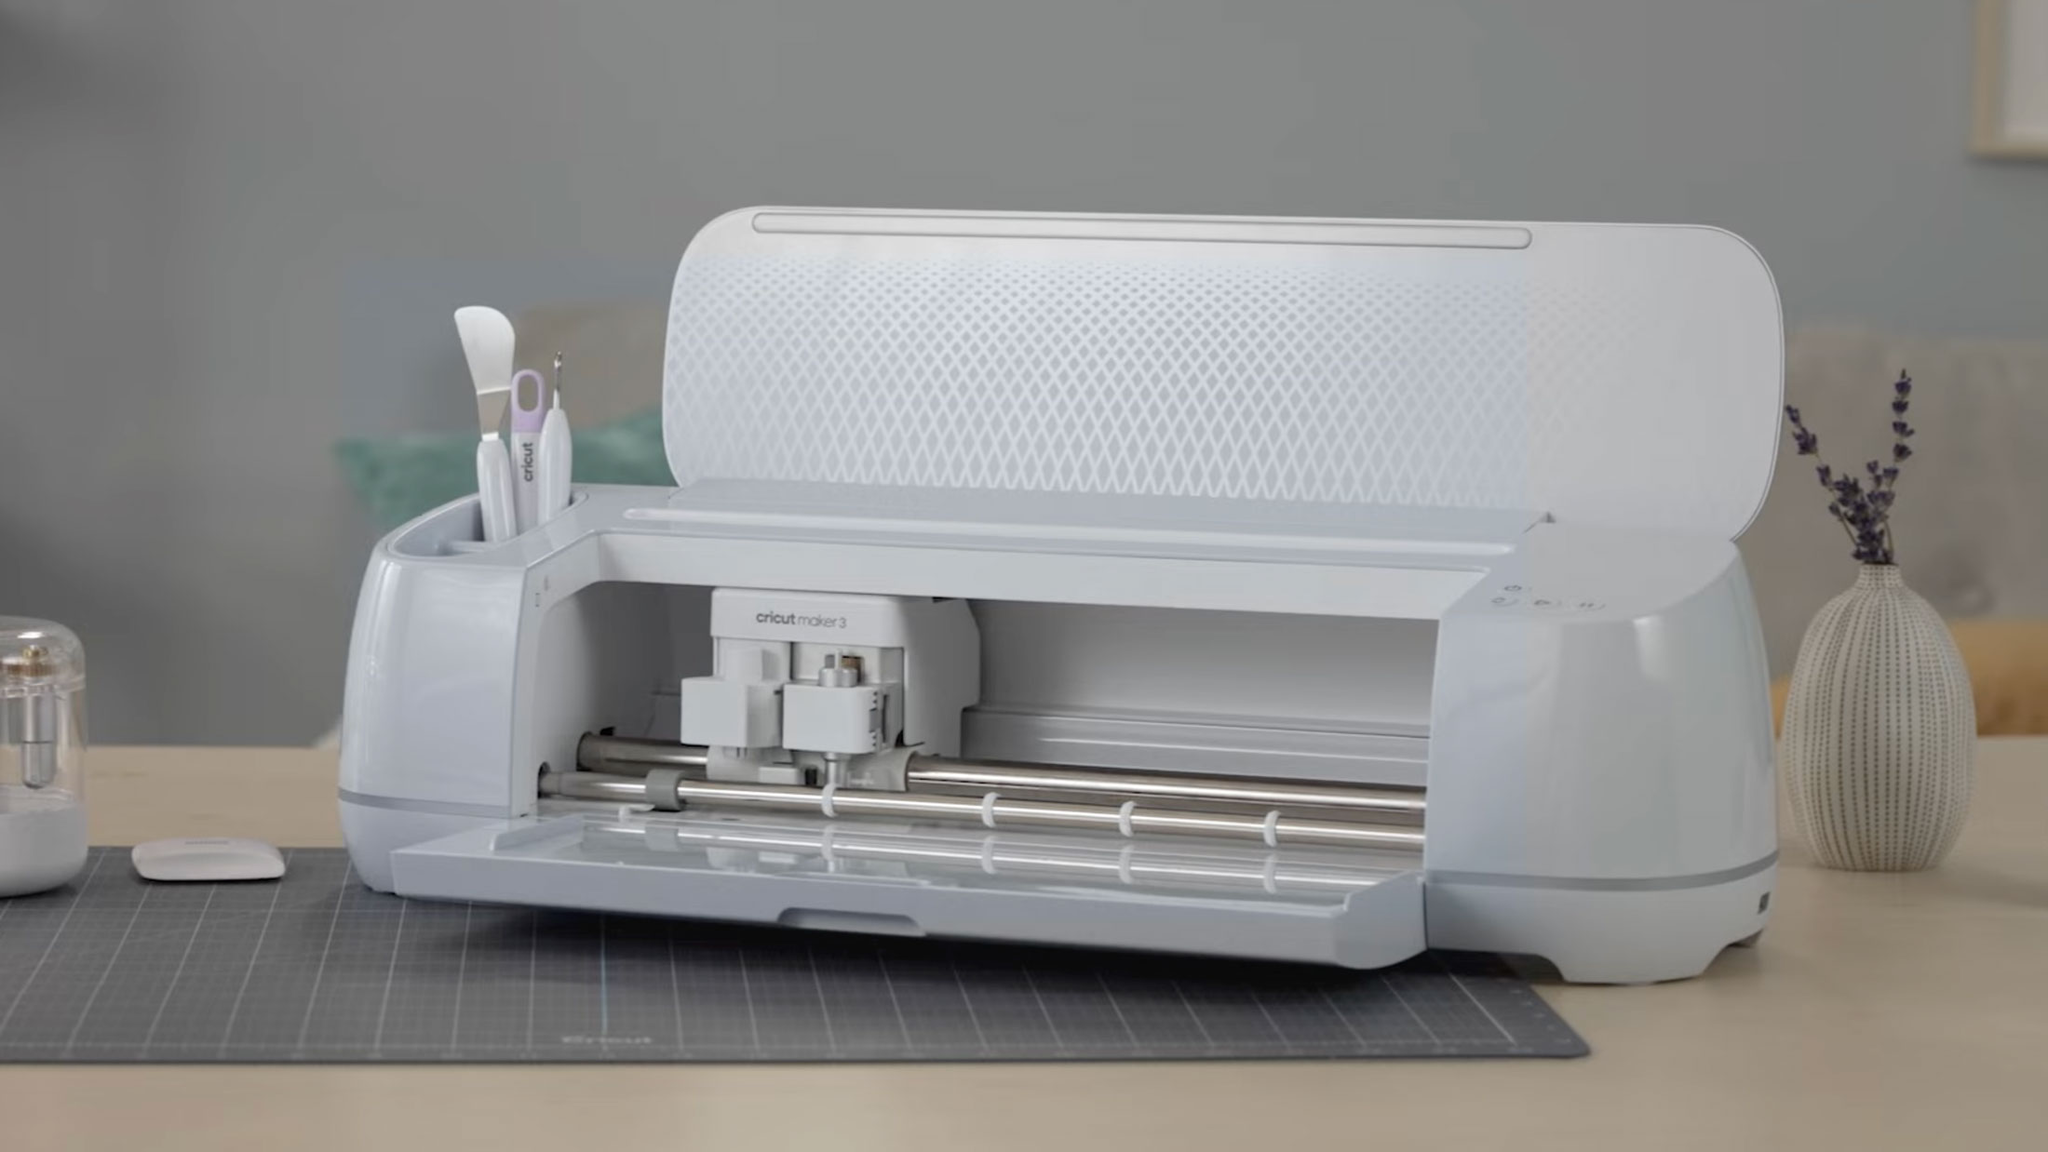
Before stepping into the installation process, let’s learn a little about its features and capabilities in detail. So, as we already know, it’s a machine full of wonder and joy. This machine has an extremely impressive range of features that I admire the most. With a sleek design and appearance, it has become the most desired machine in the DIY field.
Talking about its abilities, it can cut a huge number of materials, including delicate and complex ones. For instance, it can cut paper and wood precisely and effortlessly. To install it, you must first unbox it and connect it to a power supply. Once it is connected to the power supply, connect it to your device and proceed with your machine’s installation.
How to Install Cricut Maker 3 on Your Device?
After unboxing and checking all the equipment inside the machine’s box, let’s uncover the easiest way to install your machine on a computer device. Although you can connect it to a smartphone, I’m focusing on the computer connection.
- After unboxing, place your cutting machine in a cool, safe place.
- Then, connect it to a power supply. Use the power cord you received inside your machine’s box.
- Now, hit the power button and switch on your DIY machine.
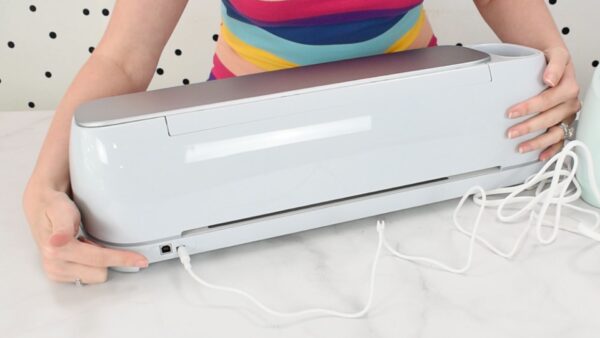
- Thenceforth, connect your machine to the computer via Bluetooth. Otherwise, use the USB cord you received with the package.
- Go to your computer and open a browser of your choice.
- Next, navigate to design.cricut.com.
- After that, click the Download button when you see it.
- Also, head over to the Product Setup window.
- On the next window, choose the Smart Cutting Machine option.
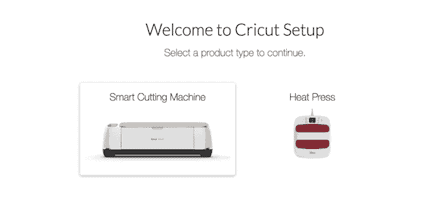
- Proceed with the on-screen instructions.
- At last, you can try doing a project with your machine to test its features.
That’s it for installing the crafting machine on your computer device. If you’re a little concerned about its connection to your device, let’s check it, too.
How to Connect Cricut Maker 3 to Your Device via Bluetooth?
After learning how to install Cricut Maker 3, you may have a query about connecting your both devices together. If you’re trying it for the first time, let me guide you through it.
- Make your first move by turning on the machine and computer.
- Then, head to the Start menu and locate the Devices option.

- Now, under the Bluetooth settings, hit the Add Bluetooth or other device option.
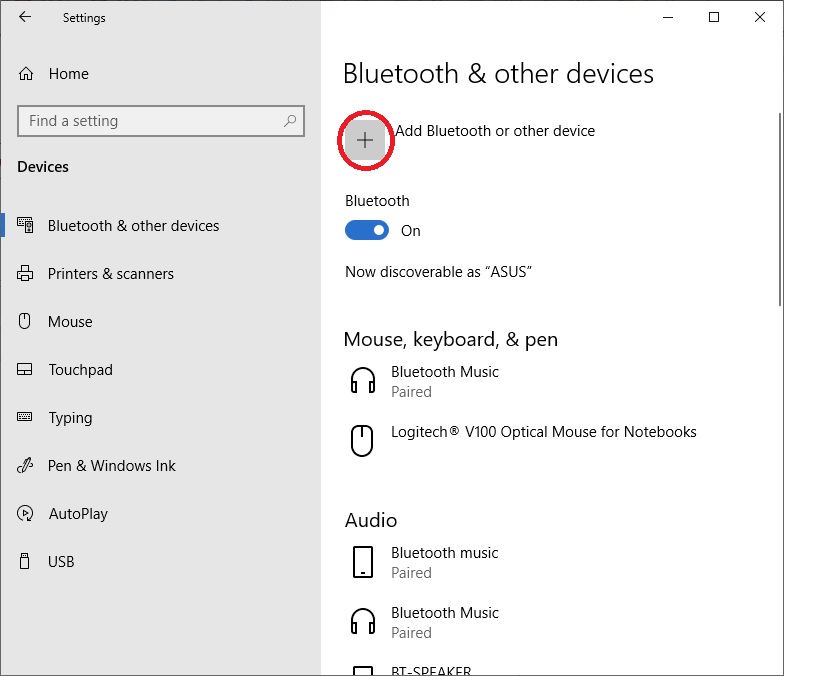
- After that, your PC will detect the devices that are available nearby.
- Once your machine appears, select it and let it connect to your PC.
- Finally, go to the Machine Setup option, and you’ll see your machine connected there.
You can connect your devices together using a USB connection, but a wireless connection such as Bluetooth will install your machine effortlessly. When you know everything about the installation, start with your machine and create whatever you want. There are so many projects you can try with it.
Important Note: Don’t forget to check the minimum system requirements before trying to install your machine and connect it with your computer.
FAQs
How to Install Cricut Maker 3 on Mac?
To install your machine on a Mac, follow these steps:
- First, unbox your machine and connect it to a power supply.
- Then, turn on your machine.
- Now, get your computer and connect it to your machine.
- Choose either USB or Bluetooth to connect your devices together.
- Next, pair your devices together.
- Visit cricut.com/setup and download the Design Space app.
- Continue installing the app and sign in to it.
- Finally, your machine is paired with your Mac.
Is Cricut Design Space a Good Software?
Yes, Design Space is excellent software for your DIY routine. It has several amazing features that work best for beginners—to pro-level crafters. Since this software is absolutely free, you don’t feel it is a heavy investment.
How Can I Connect My Cricut Maker 3 to My iPhone?
To connect your product to an iPhone, use these steps:- First, connect your machine and iPhone with a suitable connection.
- You can select from the USB or Bluetooth connection.
- Now, download the app on your iPhone using the App Store.
- Then, open the app and sign in with your account details.
- Finally, your crafting machine will be connected to the iPhone.