In today’s world, home security is more important than ever. One of the most effective ways to protect your property is by installing a reliable home security camera system. A well-placed security camera not only acts as a deterrent to potential intruders but also provides peace of mind, knowing that your home is under constant surveillance. This guide will walk you through the essential steps to install a home security camera system efficiently.
1. Planning Your Camera Placement
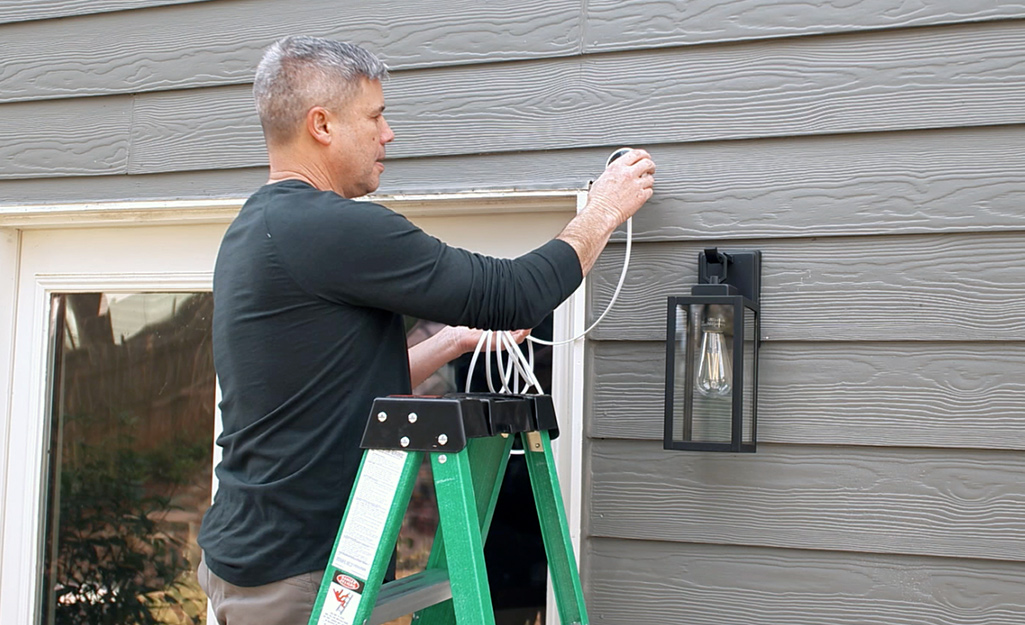
Before installing your security cameras, it is crucial to plan where they will be placed. Identify vulnerable areas around your property, such as entrances, driveways, and windows, that require surveillance. Common locations include the front door, back door, garage, and any ground-floor windows. For outdoor cameras, ensure they are placed high enough to prevent tampering and have a clear, unobstructed view of the area. Indoors, focus on high-traffic areas like hallways and staircases.
2. Choosing the Right Cameras
Selecting the appropriate camera type for each location is vital for effective monitoring. For outdoor areas, weatherproof and night-vision cameras are essential. Bullet cameras are popular for outdoor use due to their long-range visibility, while dome cameras are less noticeable and can cover a wide area. Indoors, consider using discreet cameras that blend with the décor. Wireless cameras offer flexibility in installation but ensure a stable Wi-Fi connection to avoid interruptions. Also, choose cameras with a resolution of at least 1080p for clear and detailed footage.
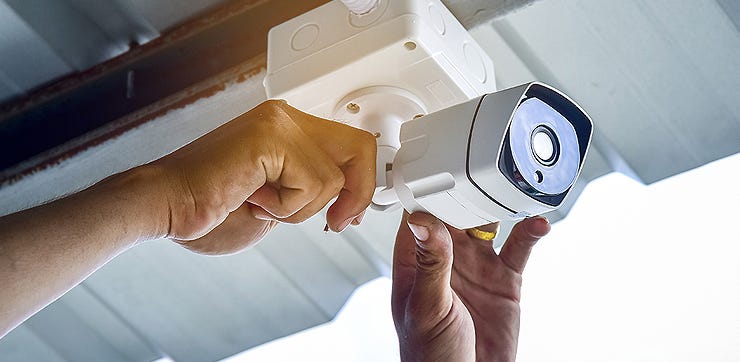
3. Installation Process
Once you have chosen the camera locations and types, the installation process begins. For wired cameras, drill holes for the mounting brackets and run the cables through walls or ceilings to the central recording unit. Securely mount the cameras, ensuring they are tightly fixed and aimed correctly. For wireless cameras, simply attach them to the desired location and connect them to your Wi-Fi network. Pay attention to power sources; wired cameras need a direct power supply, while wireless cameras may require batteries or be connected to an outlet.
4. Setting Up the System
After installation, connect your cameras to a recording device or cloud storage system. Most modern systems come with user-friendly apps that allow you to monitor footage remotely via your smartphone. Adjust the camera settings for motion detection, alerts, and recording schedules according to your needs. Regularly test the system to ensure it is working correctly and update the software to the latest version for optimal performance and security. For more details visit https://www.fortissecurity.com.au/
5. Final Thoughts
Installing a home security camera system is a proactive step in safeguarding your property and loved ones. By carefully planning camera placement, selecting the right equipment, and ensuring proper installation and setup, you create a robust security system tailored to your needs. With the peace of mind that comes from knowing your home is protected, you can focus on what matters most—enjoying a safe and secure living environment.